
Inside the Cabin: A Tour of the Raw Timber Finish & What Comes Next
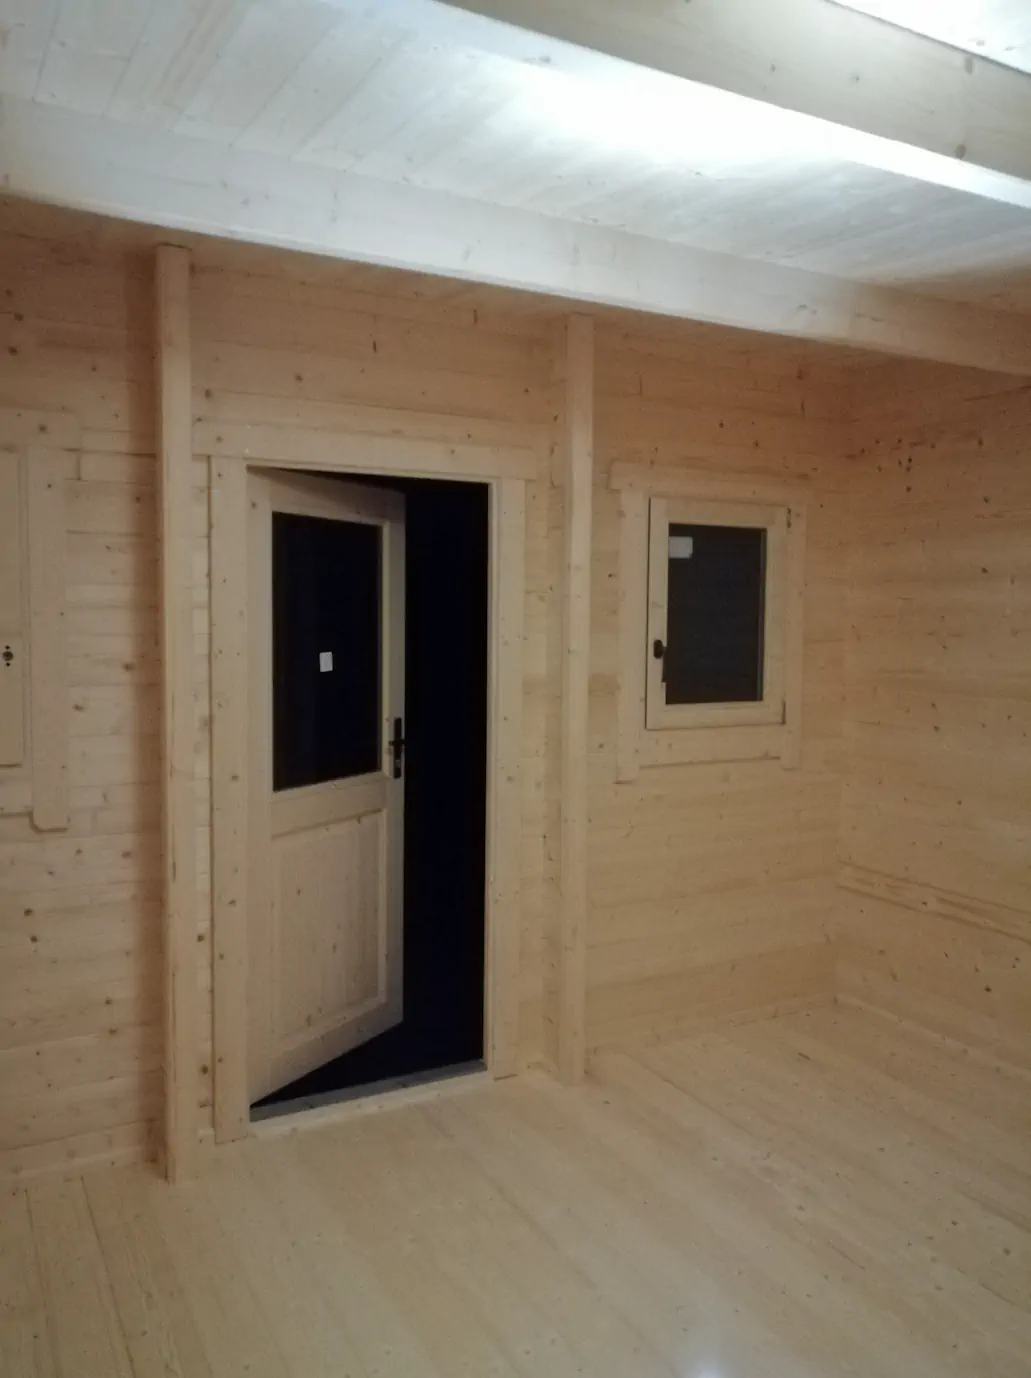
There is nothing quite like the smell of a freshly built timber cabin. As you can see in this photo from our latest installation, the interior is bright, clean, and airy — a perfect "blank canvas" ready for the owner to make their mark.
But before you rush to bring in the sofa and the desk, there are a few critical steps to take. Let's explore what you get with a standard build and how to finish it properly.
What’s Included in the "Shell"?
Looking at the photo, you’ll notice high-quality details that come as standard with our kits (unlike some budget competitors who charge extra for floors):
- Tongue & Groove Flooring: We use solid timber boards (usually 19mm or 28mm), not cheap plywood or OSB. They lock together tightly for a smooth, draft-free surface.
- Exposed Roof Beams: The heavy roof purlins remain visible, adding character and height to the room. This "cathedral ceiling" effect makes even smaller cabins feel spacious.
- Natural "Bright Wood": The timber arrives untreated (unless you ordered a pre-treated kit). This pale, Scandinavian pine look is stunning, but it is vulnerable to footprints and moisture until protected.
Step 1: The Floor Comes First
This is the most common mistake new owners make: moving furniture in before treating the floor.
Expert Tip: Treat your floor immediately! As soon as the installation team leaves, apply a hard-wearing floor varnish or a hard-wax oil (like Osmo Polyx-Oil). Raw timber absorbs dirt instantly — if you walk on it with muddy shoes or spill coffee before varnishing, that stain might be there forever.
Step 2: First-Fix Electrics
See the open door and the clean walls? Now is the time to plan your power.
- Surface mounted: Most cabin owners run cables in tidy plastic trunking along the skirting boards or up the corners.
- Lighting: With those exposed roof beams, you can easily mount LED strips or drape festoon lights for a cosy atmosphere without drilling into the roof structure.
Step 3: To Paint or Not to Paint?
The "bright wood" look in the photo reflects light beautifully, making the space feel larger.
- Clear finish: If you love this look, use a clear, non-yellowing UV oil on the walls. This stops the wood from turning orange/dark over time while keeping the grain visible.
- White wash: A semi-transparent white stain is very popular in the UK right now. It keeps the wood texture but brightens the room even further — perfect for garden offices.
Summary
A newly built cabin is a high-quality, raw space full of potential. The structure is solid, the windows are double-glazed, and the finish is smooth. Your job now is simply to protect it.
Grab a tin of floor varnish, book your electrician, and enjoy your new space!